How to Screenshot on iPad? Taking a screenshot on your iPad is an essential skill that allows you to capture and share important information quickly and easily. Whether you want to save a memorable moment, share an interesting article, or document an app interface, knowing how to take a screenshot can enhance your productivity and communication.
The process varies slightly depending on your iPad model, but it primarily involves a combination of button presses. Additionally, iPads offer alternative methods, such as using AssistiveTouch and Siri, to make screenshotting even more convenient.
This guide will provide a comprehensive step-by-step approach to taking screenshots, including troubleshooting tips for common issues and customization options that optimize the process. With these tools and insights, you’ll be able to capture exactly what you need on your iPad effortlessly, ensuring you never miss an important moment.
How to Take a Screenshot on iPad: Step-by-Step Guide
- Identify Your iPad Model: Determine if your iPad has a Home button or not.
- Use the Button Combination:
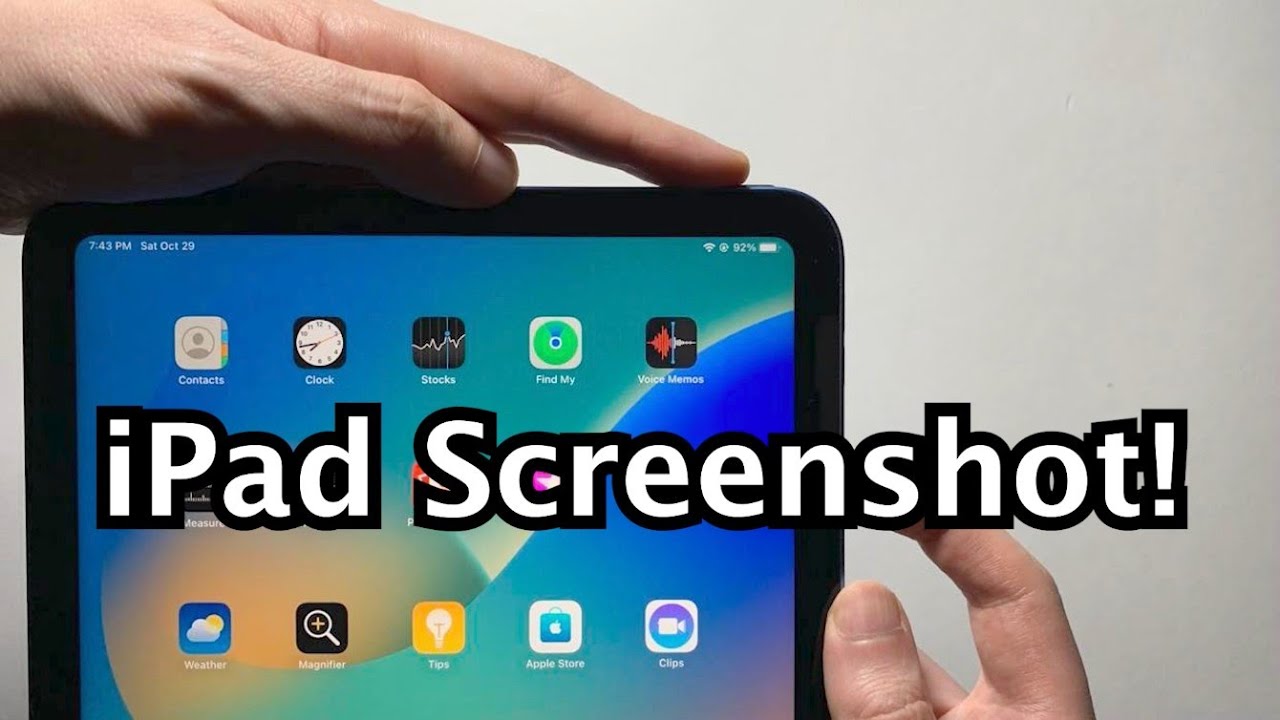
- For iPads without a Home button: Press the Side Button and Volume Up button simultaneously.
- For iPads with a Home button: Press the Home Button and the Top (or Side) button simultaneously.
- Release the Buttons: Quickly release both buttons to capture the screenshot.
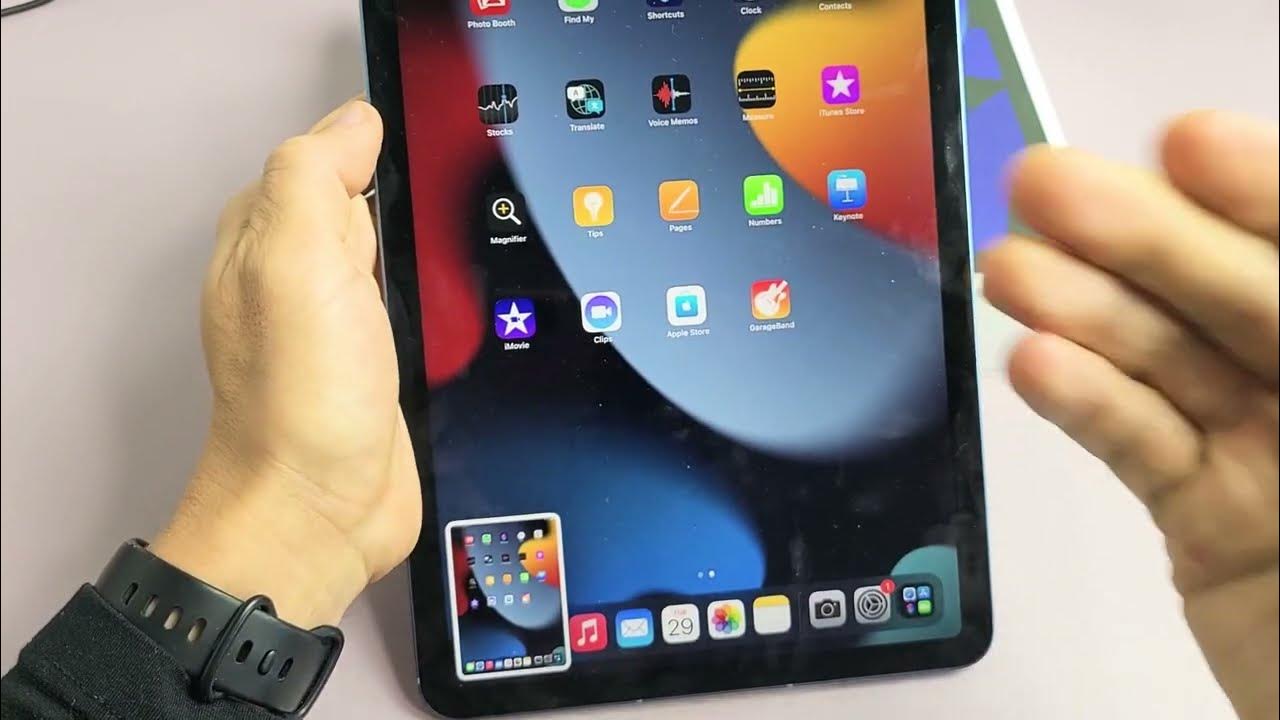
- Locate the Thumbnail: A thumbnail will appear in the bottom corner of the screen.
- Edit or Share: Tap on the thumbnail to edit, share, or delete the screenshot immediately.
- Find in Photos: If not edited, the screenshot will automatically save to the Photos app.
- Check for Full Page Option: In Safari, you can capture entire web pages by selecting the Full Page feature in the editing menu.
Capturing Your Screen: iPad Screenshot Methods
Capturing your screen on an iPad can be accomplished through several methods, catering to different user needs. The most common method involves using hardware buttons. For iPads without a Home button, simultaneously press the Side Button and Volume Up button.
For models with a Home button, press the Home Button and the Top (or Side) button together. Upon capturing, a thumbnail will appear at the bottom corner of the screen, allowing for immediate editing or sharing. For users seeking an alternative method, AssistiveTouch can be activated in the Accessibility settings.
This feature provides a floating button that, when tapped, offers an option to take a screenshot without pressing multiple buttons. Additionally, for those who frequently capture web content, iPads running iOS 13 or later allow full-page screenshots in Safari, capturing entire web pages for easier sharing. Exploring these various methods enables you to choose the one that best fits your workflow and preferences.
Quick Tips for Taking Screenshots on iPad
- Know Your Button Combinations: Familiarize yourself with the button combinations for your specific iPad model.
- Use AssistiveTouch: Enable AssistiveTouch for a more accessible screenshot option.
- Edit Immediately: Tap the thumbnail after taking a screenshot to edit or share it right away.
- Check Storage: Ensure you have enough available storage to save your screenshots.
- Organize Your Photos: Create an album in Photos for easy access to your screenshots.
- Use Full Page Feature: In Safari, take full-page screenshots to capture entire web pages.
- Practice: Practice the button combination to enhance your speed and efficiency in taking screenshots.
Using Assistive Touch to Take Screenshots on iPad
Assistive Touch offers a convenient way to take screenshots on your iPad, especially for those who find it challenging to use button combinations. To enable Assistive Touch, go to Settings, then tap Accessibility, and select Touch.
From there, turn on Assistive Touch. A floating button will appear on your screen. To take a screenshot, tap the Assistive Touch button, then select Device, and choose More. You’ll find the option to take a screenshot there.
This method is particularly beneficial for users with physical disabilities or those who prefer a more straightforward approach. Once the screenshot is captured, a thumbnail will appear, allowing for immediate editing or sharing. This feature enhances accessibility, ensuring that everyone can capture their screen effortlessly when needed.
Taking Full-Page Screenshots on iPad
Taking full-page screenshots on your iPad is an excellent feature, especially for capturing entire web pages. To do this, open Safari and navigate to the webpage you want to capture. Once the page is fully loaded, take a screenshot using the standard button combination for your iPad model.
After capturing the screenshot, tap on the thumbnail that appears in the bottom corner of the screen. In the editing interface, select the Full Page option at the top. This feature allows you to scroll through the entire content of the webpage, capturing everything in one image.
After reviewing, tap Done to save the screenshot to your Photos app. Full-page screenshots are particularly useful for saving articles, recipes, or any content that spans multiple screens, giving you a comprehensive view at a glance.
Troubleshooting Screenshot Issues on iPad
If you encounter issues when trying to take screenshots on your iPad, there are several troubleshooting steps to consider. First, ensure that your iPad’s buttons are functioning correctly. Test the Side and Volume buttons by using them for other functions, such as adjusting the volume.
If the buttons work but screenshots still aren’t capturing, try restarting your iPad to refresh the system. Additionally, check your available storage; insufficient space can prevent screenshots from saving. You can review storage by navigating to Settings, then General, and selecting iPad Storage.
If using Assistive Touch, ensure it’s enabled in Accessibility settings. Finally, make sure your iPad is up to date with the latest version of iOS, as updates often fix bugs. Following these steps can help resolve common screenshot issues, ensuring that you can capture your screen effectively.
Using Siri to Take Screenshots on iPad

Siri provides a hands-free option for taking screenshots on your iPad, making it an excellent choice for users who prefer voice commands. To use Siri, activate it by saying “Hey Siri” or by pressing and holding the Home or Side button, depending on your model.
Once Siri is activated, simply say, “Take a screenshot.” Siri will capture the screen for you, and you’ll see the familiar thumbnail appear in the bottom corner for quick access to editing and sharing. This method is particularly useful when your hands are busy or when you want to capture something quickly without fumbling for buttons.
Ensure that Siri is enabled on your device by checking in the Settings under Siri & Search. Utilizing Siri to take screenshots adds convenience and flexibility to your iPad usage, allowing you to capture moments effortlessly.
Customizing Your iPad for Easier Screenshots
- Enable AssistiveTouch: Go to Settings > Accessibility > Touch > AssistiveTouch.
- Create a Screenshot Shortcut: Under Customize Top Level Menu, add a Screenshot to the AssistiveTouch menu.
- Change Button Functions: Adjust button functions in Settings > Accessibility > Touch > Back Tap for quick access.
- Use Siri: Enable Siri in Settings > Siri & Search for hands-free screenshot capability.
- Organize Screenshots: Create a dedicated album in Photos for easier access to your screenshots.
- Adjust Thumbnail Settings: In Settings > Photos, choose how long thumbnails appear after taking a screenshot.
- Use Visual Feedback: Enable visual feedback for button presses under Settings > Accessibility > Touch to ensure inputs are registered.
Customizing your iPad for easier screenshots enhances usability and efficiency, making the process smoother and more intuitive.
Frequently Asked Questions About How to Take a Screenshot on iPad.
How do I take a screenshot on my iPad?
Press the Side button and the Volume Up button simultaneously, then quickly release them.
Can I take a screenshot using AssistiveTouch?
Yes, enable AssistiveTouch in Settings, and use the floating button to take screenshots.
How do I capture a full-page screenshot?
In Safari, take a screenshot and select the Full Page option in the editing interface.
What if my screenshots aren’t saving?
Check your storage space and ensure your iPad’s buttons are functioning properly.
Can I use Siri to take screenshots?
Yes, activate Siri and say, “Take a screenshot” to capture your screen hands-free.
Conclusion About How to Take a Screenshot on iPad
In conclusion, taking a screenshot on your iPad is a straightforward process that enhances your ability to capture and share important information. By mastering various methods—including hardware button combinations, Assistive Touch, and Siri—you can choose the most convenient option for your needs.
Additionally, customizing your iPad for easier screenshot functionality can significantly streamline your experience, making it more efficient to capture moments. Should you encounter any issues, the troubleshooting tips provided will help you resolve common problems, ensuring smooth functionality.
With these insights, you’ll be well-equipped to effectively utilize the screenshot feature on your iPad, enhancing both productivity and enjoyment in your daily tasks. Whether you’re saving a memorable image or documenting important information, mastering screenshots will elevate your overall iPad experience.